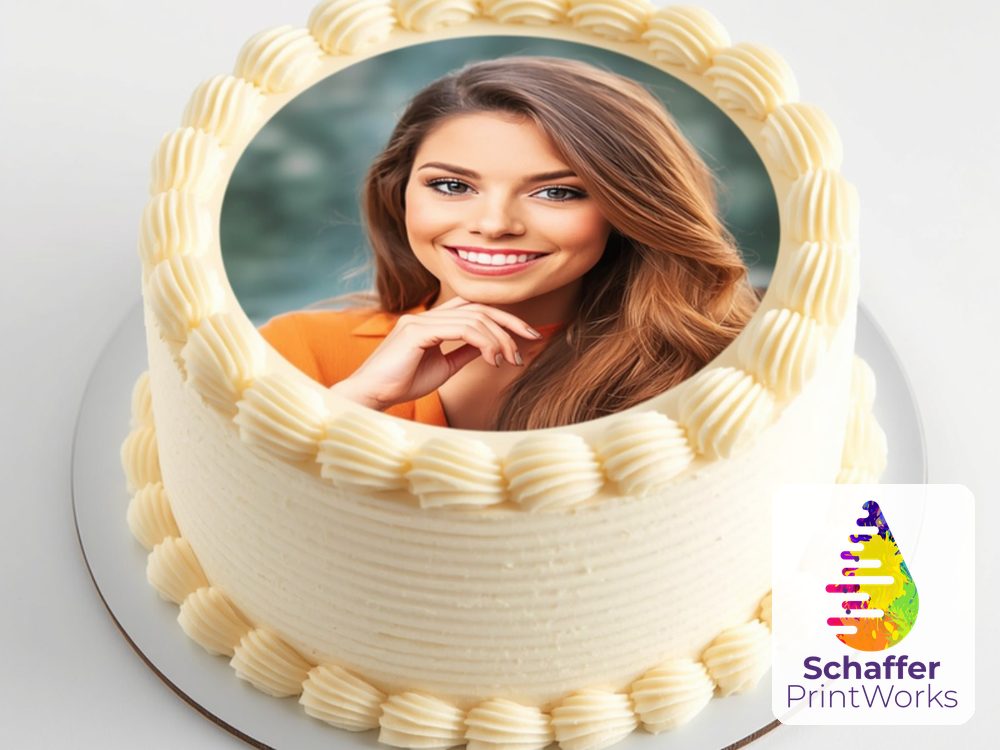
To apply an edible image without cracking or fading: let the sheet come to room temperature while it’s still sealed in its packaging, then apply it to a freshly-finished, smooth buttercream (lightly crusted) or a lightly-dampened fondant surface. Peel the image slowly off its plastic backing — rushing the peel is the number-one cause of tears — lay it down center-out, and smooth it gently with clean, dry hands. To stop fading, keep the finished cake away from direct sunlight and fluorescent light (pinks, reds, and purples fade fastest), apply the sheet within a few days of receiving it, and store unused sheets sealed and flat. Do those things and your image goes on crisp, smooth, and vibrant.
Below we walk through each step, explain why temperature and timing matter so much, and lay out the do’s and don’ts that separate a flawless edible image from a cracked or faded one.
Start with temperature: room temp, still sealed
Edible sheets are sensitive to moisture and temperature swings. If you pull a cold sheet out and open it, condensation forms on the surface and the sheet can curl, get sticky, or crack when you try to handle it. The fix is simple: let the sheet reach room temperature while it’s still in its sealed packaging, so any temperature change happens before air ever touches it. Only open it once it’s at room temp and you’re ready to apply.
Prep the right surface
The surface you’re applying to does most of the work in holding the image flat and crack-free:
- On buttercream — finish the cake with a smooth, even buttercream and let it set just enough to form a light crust. The faint tackiness grabs the sheet, while a smooth surface keeps the image from telegraphing every bump.
- On fondant — lightly dampen the fondant (a barely-misted surface) so the sheet can adhere. Don’t overdo it; too much moisture dissolves and warps the print.
Either way, the goal is a smooth, freshly-finished surface with just enough moisture to grip. A dry, fully-hardened surface won’t hold the sheet; a wet one will ruin it.
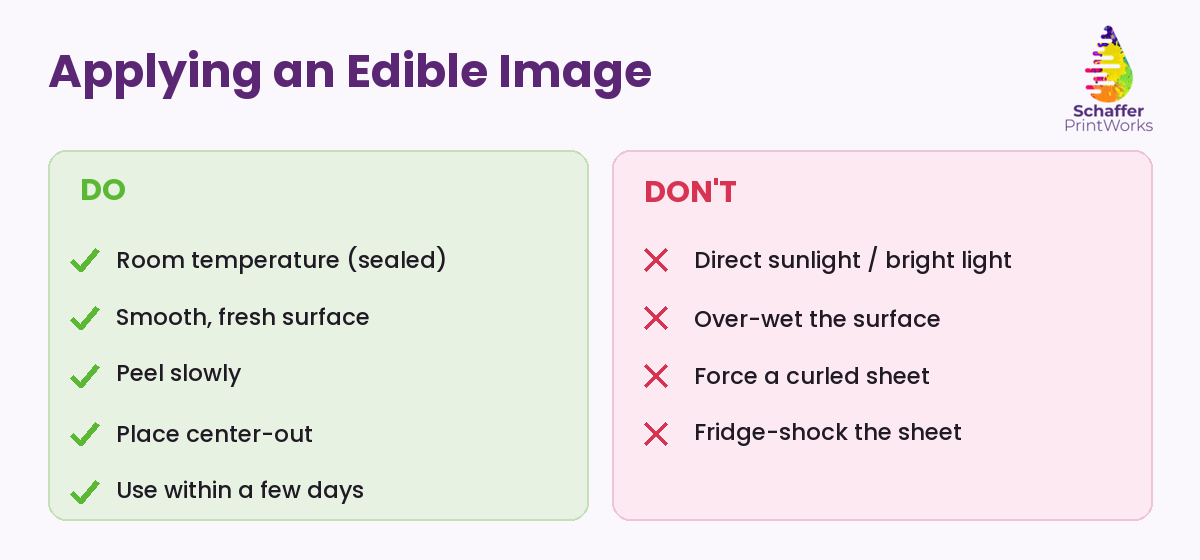
Peel slowly — this is where most images crack
If there’s one step that makes or breaks the result, it’s the peel. The edible image sits on a thin plastic backing sheet, and rushing the peel is the number-one cause of tears and cracks. Work slowly: start at one corner, peel the backing away from the image at a low angle (almost folding the backing back on itself), and let the image release on its own rather than pulling the image off the backing. If it resists, slow down further — never force it.
Place center-out and smooth gently
Once the image is free, lay it down from the center out: set the middle onto the cake first, then let the edges settle outward. This pushes any air toward the edges instead of trapping a bubble in the middle. Smooth it with clean, dry hands, using light fingertip pressure from the center toward the edges. Don’t scrub or drag — gentle is the whole idea. Damp hands smear the ink, so keep them dry.
Stop the fade: light is the enemy
Fading is almost always a light problem. To keep colors vivid:
- Keep the cake out of direct sunlight and fluorescent light. Both fade edible inks, and pinks, reds, and purples fade fastest, so a portrait or a bright floral print is especially vulnerable.
- Apply within a few days of receiving the sheet. Fresh sheets are more flexible and the colors are at their richest.
- Store unused sheets sealed and flat. Re-seal them in their packaging, lay them flat (never rolled or folded), and keep them out of the fridge to avoid moisture shock.
A cake displayed under soft, indirect light and served within a day or two will look just as crisp as the moment you applied it.
Want the image done for you?
If you’d rather hand off the printing, that’s exactly what we do: send us your artwork — a photo, a logo, a character, a design — and we print it onto food-safe edible sheets for you. You handle the cake; we handle a clean, vivid print that’s ready to apply. Curious about the finishes? Our post on icing vs. wafer paper edible sheets explains which sheet suits your cake, and you can see your options on our edible prints page.
FAQs
Why does my edible image keep cracking?
The two usual causes are a cold or dried-out sheet and rushing the peel. Let the sheet reach room temperature while still sealed, apply it fresh, and peel the backing away slowly at a low angle so the image releases on its own.
How do I keep an edible image from fading?
Keep the finished cake out of direct sunlight and fluorescent light, since both fade edible inks — pinks, reds, and purples fastest. Apply the sheet within a few days of receiving it and store unused sheets sealed and flat.
Should I apply an edible image to buttercream or fondant?
Both work. On buttercream, use a smooth, freshly-finished surface that’s lightly crusted. On fondant, lightly dampen the surface so the sheet adheres. Either way, avoid over-wetting, which warps the print.
Can I refrigerate a cake with an edible image?
Avoid fridge-shocking the sheet itself — store unused sheets sealed and flat at room temperature, not in the fridge. Once applied to a finished cake, keep it out of direct and fluorescent light to protect the colors.
Want to do it yourself? Bring the sheet to room temperature, peel slow, and place center-out — or skip the print step entirely and send us your artwork. We’ll print it on food-safe edible sheets right here in the Las Vegas valley — Henderson, Summerlin, and across the area — with local pickup and delivery, no shipping wait. Request your custom edible print quote and we’ll get your image crisp, vivid, and ready to apply.