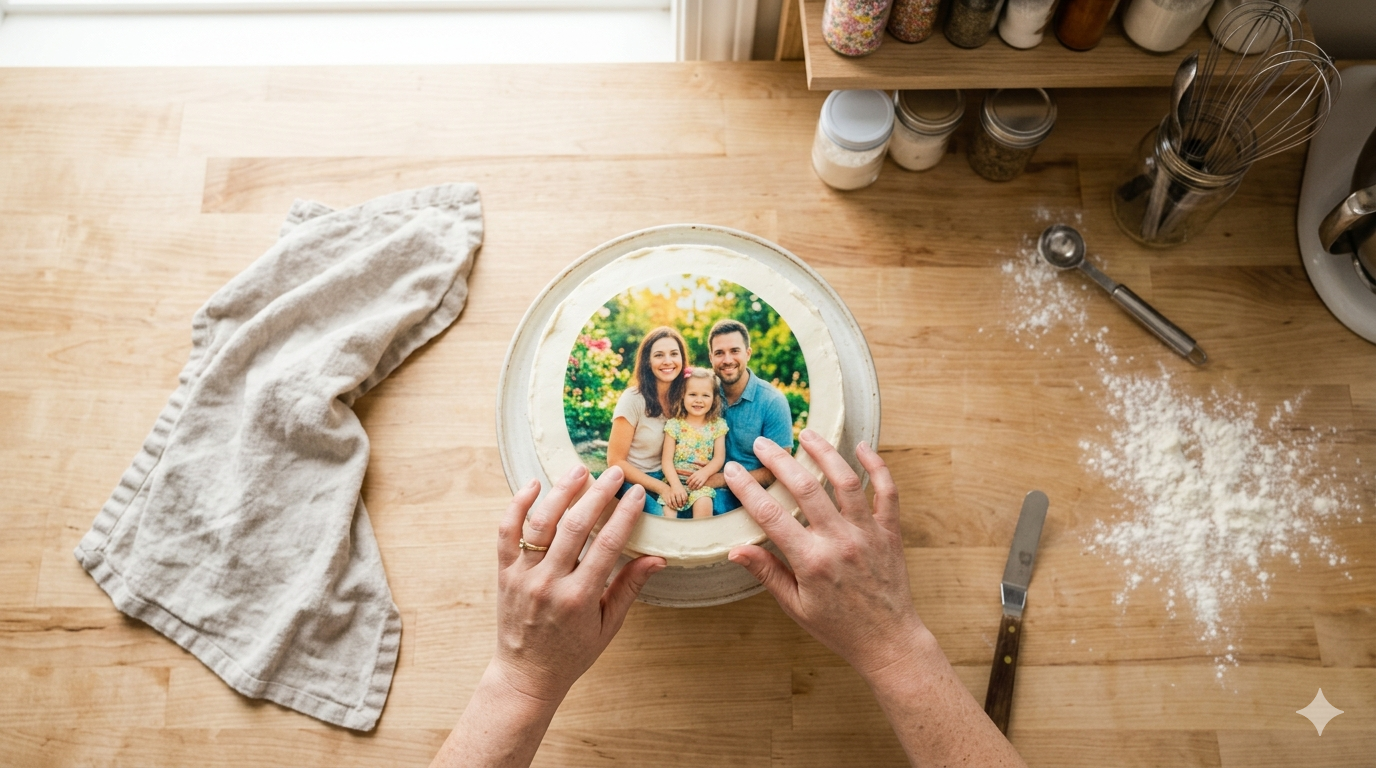
Edible images are almost foolproof once you know one thing: the surface decides the method. Get that right and your print goes on smooth, vivid, and bubble-free every time. Here’s exactly how to apply one to each kind of cake and treat.
First, the three rules that never change
- Peel slowly. Remove the image from its backing sheet gently — bend the backing, don’t pull the image.
- Dry, clean hands. Edible sheets are moisture-sensitive; damp fingers leave marks.
- Smooth from the center out. Lay the middle down first, then sweep outward with a soft, flat hand to push air to the edges.
By surface
Buttercream
The easiest surface. Frost your cake and let the buttercream lightly crust (about 30–60 minutes) — the natural grease holds the image with no water needed. Lay it on from one edge and smooth across. If your buttercream has crusted hard, lightly dampen the back of the image with a little water to help it grab.
Fondant
Fondant is dry, so it won’t grab on its own. With a small brush, paint a thin layer of water only where the image will sit (water outside that area leaves marks), then apply and smooth center-out.
Ganache
Treat it like buttercream: apply once the ganache is set and just slightly tacky. Add a whisper of moisture on the back only if it’s fully firm.
Whipped cream & cream cakes
The tricky one — whipped cream is wet, so images can bleed if applied too early. Apply as close to serving as possible, and protect the print by spreading a thin layer of buttercream (on the cake or on the back of the image) as a barrier. For photo- or logo-focal pieces, a drier base is safer.
Chocolate-covered treats (Oreos, cake pops, candy bars)
Two reliable methods: – Tacky-press: dip your treat, and while the chocolate is still wet/tacky, press the precut image gently onto the surface. – Mold method: lay the precut image face-down in the candy mold, pour the melted chocolate over it, and let it set — the image bonds perfectly flat to the chocolate face.
Quick wins
- No bubbles: start in the center, work outward; if one appears, a clean dry finger smooths it to the edge.
- Timing is everything: too early on wet frosting and the image dissolves; too late on hard crust and it lifts. Aim for the crust stage.
- Right size first: an image cut to your cake or cookie sits flat and clean — see our Edible Image Size Guide for the exact sizes.
Running into curling, cracking, or colors running? Our edible-image troubleshooting guide fixes the six most common issues.
Need the print itself? Schaffer Print Works makes custom edible images — icing sheets or wafer paper, precut to size — for Las Vegas pickup or shipped to your door. → Request a quote
Want us to make the edible print for your cake? See our photo cakes in Las Vegas.